
How tiny magnets turned my cutter chaos into a display of tiny creative treasures.
Every once in a while, a studio organization idea works so well that it deserves to be shared. This is one of those ideas.
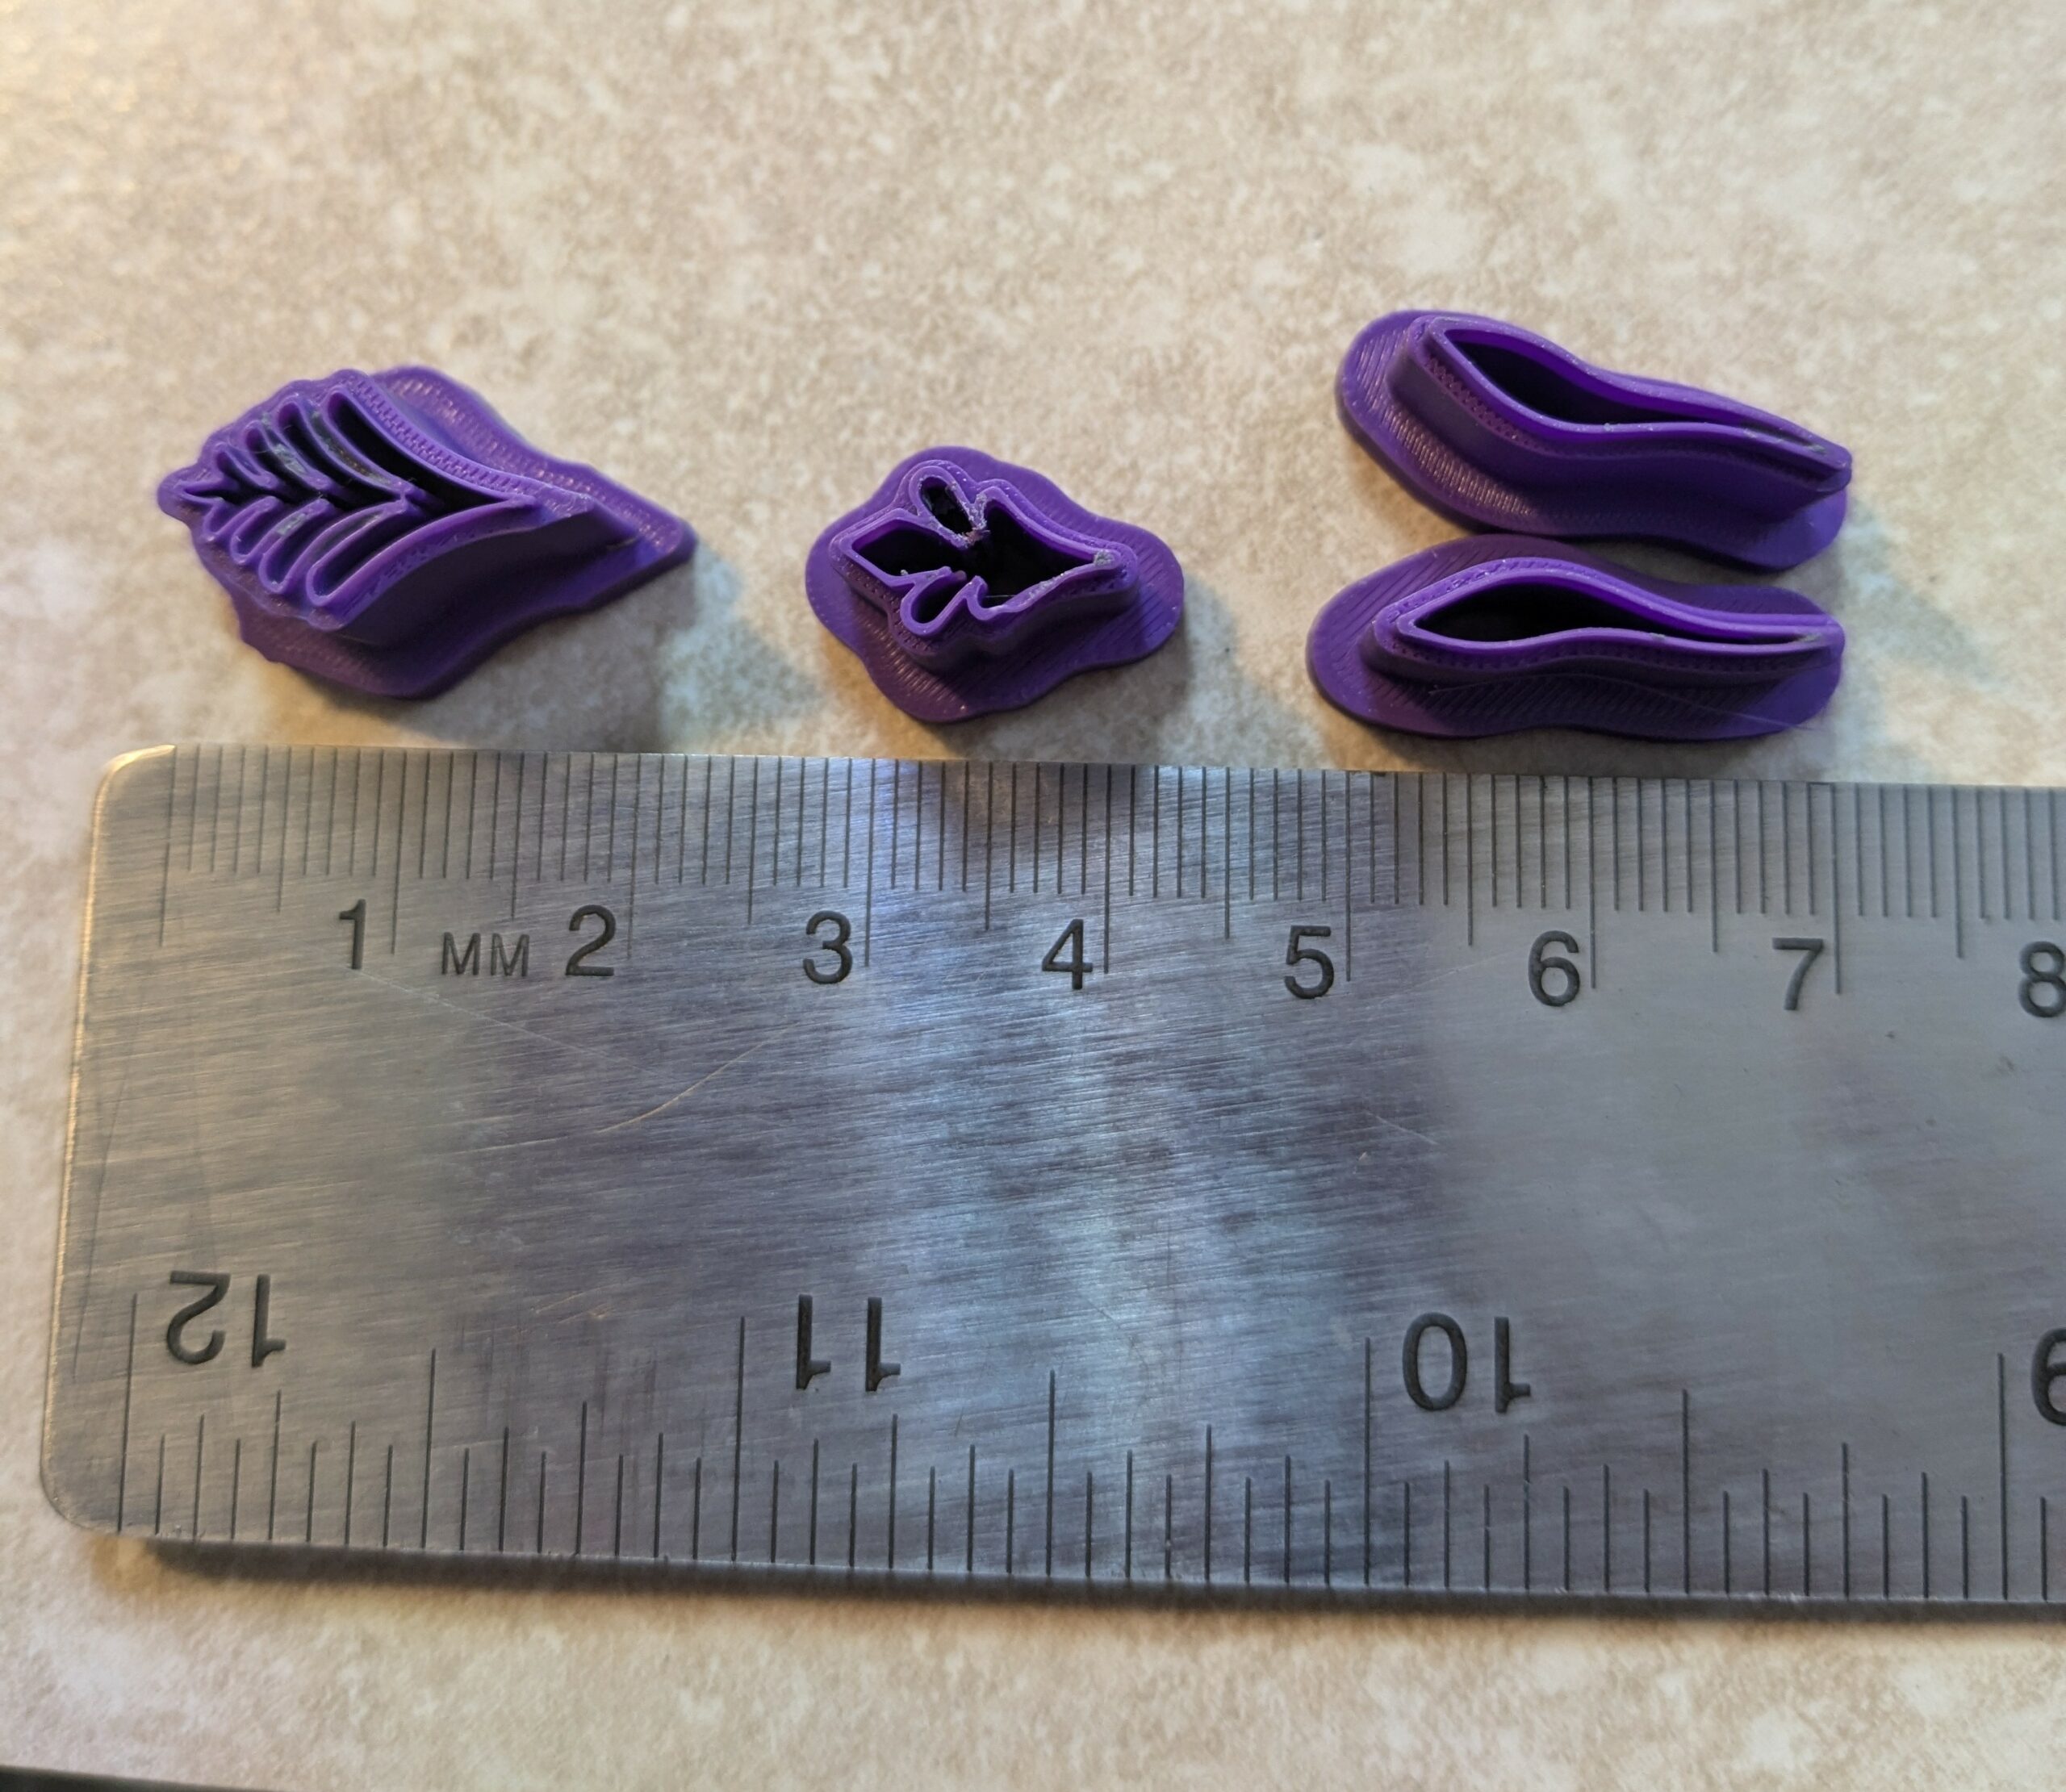
I make a lot of hanging mosaic-style and Scandinavian folk art-style ornaments, which means I use the same tiny clay shapes over and over again. I sketched a page of the shapes I wanted, and my talented friend, Kim Day, transformed them into beautiful 3D-printed cutters and matching stamps. Beautifully sharp cutters. Many of them are just a centimeter- and even smaller.
That was wonderful…until I actually tried to use them. The little cutters were constantly lying on my worktable with the cutting edge hidden. Finding the right one meant picking up four or five before discovering the shape I was looking for. There had to be a better way. Then the light bulb came on.
I bought tiny neodymium magnets (4 mm × 2 mm) and attached one to the back (the pushing side) of each cutter with two-part epoxy. Once the glue cured, I mounted them on a piece of magnetized sheet metal standing upright beside my workspace.
Problem solved.
Now every cutter is displayed with its cutting edge facing me, so I can spot exactly the shape I need in seconds. They stay organized, take up almost no bench space, and are surprisingly satisfying to look at. Best of all, there’s still plenty of room on the magnetic board for the rest of my ever-growing collection of teeny-tiny cutters.
Sometimes the best studio tools aren’t the expensive ones—they’re the simple solutions that make creating just a little more enjoyable.
A Few Tips (Learned the Hard Way)
- Skip the tiny batches of two-part epoxy. I mixed several little puddles of epoxy, grabbed each magnet with tweezers, dipped it in glue, and stuck it onto the back of the cutter. It worked…eventually. A fine-tip bottle of strong adhesive is much faster, much cleaner, and far less likely to leave you wearing the glue instead.
- Give your magnets some personal space. Arrange your cutters and stamps well apart while the adhesive cures. If they’re too close, the magnets will suddenly decide they’ve found their soulmates and slam together. You’ll spend the next few minutes prying them apart and starting over.
- Put the metal tweezers down. Seriously. Use plastic tweezers or, better yet, your fingers. Neodymium magnets have a remarkable talent for convincing metal tweezers to abandon their job and join the magnets instead. Most of us insist on trying metal tweezers exactly once. After that, the lesson tends to stick.
Like many good studio hacks, this one was perfected through a combination of experimentation, stubbornness, and just enough mistakes to make it memorable.
–MJB