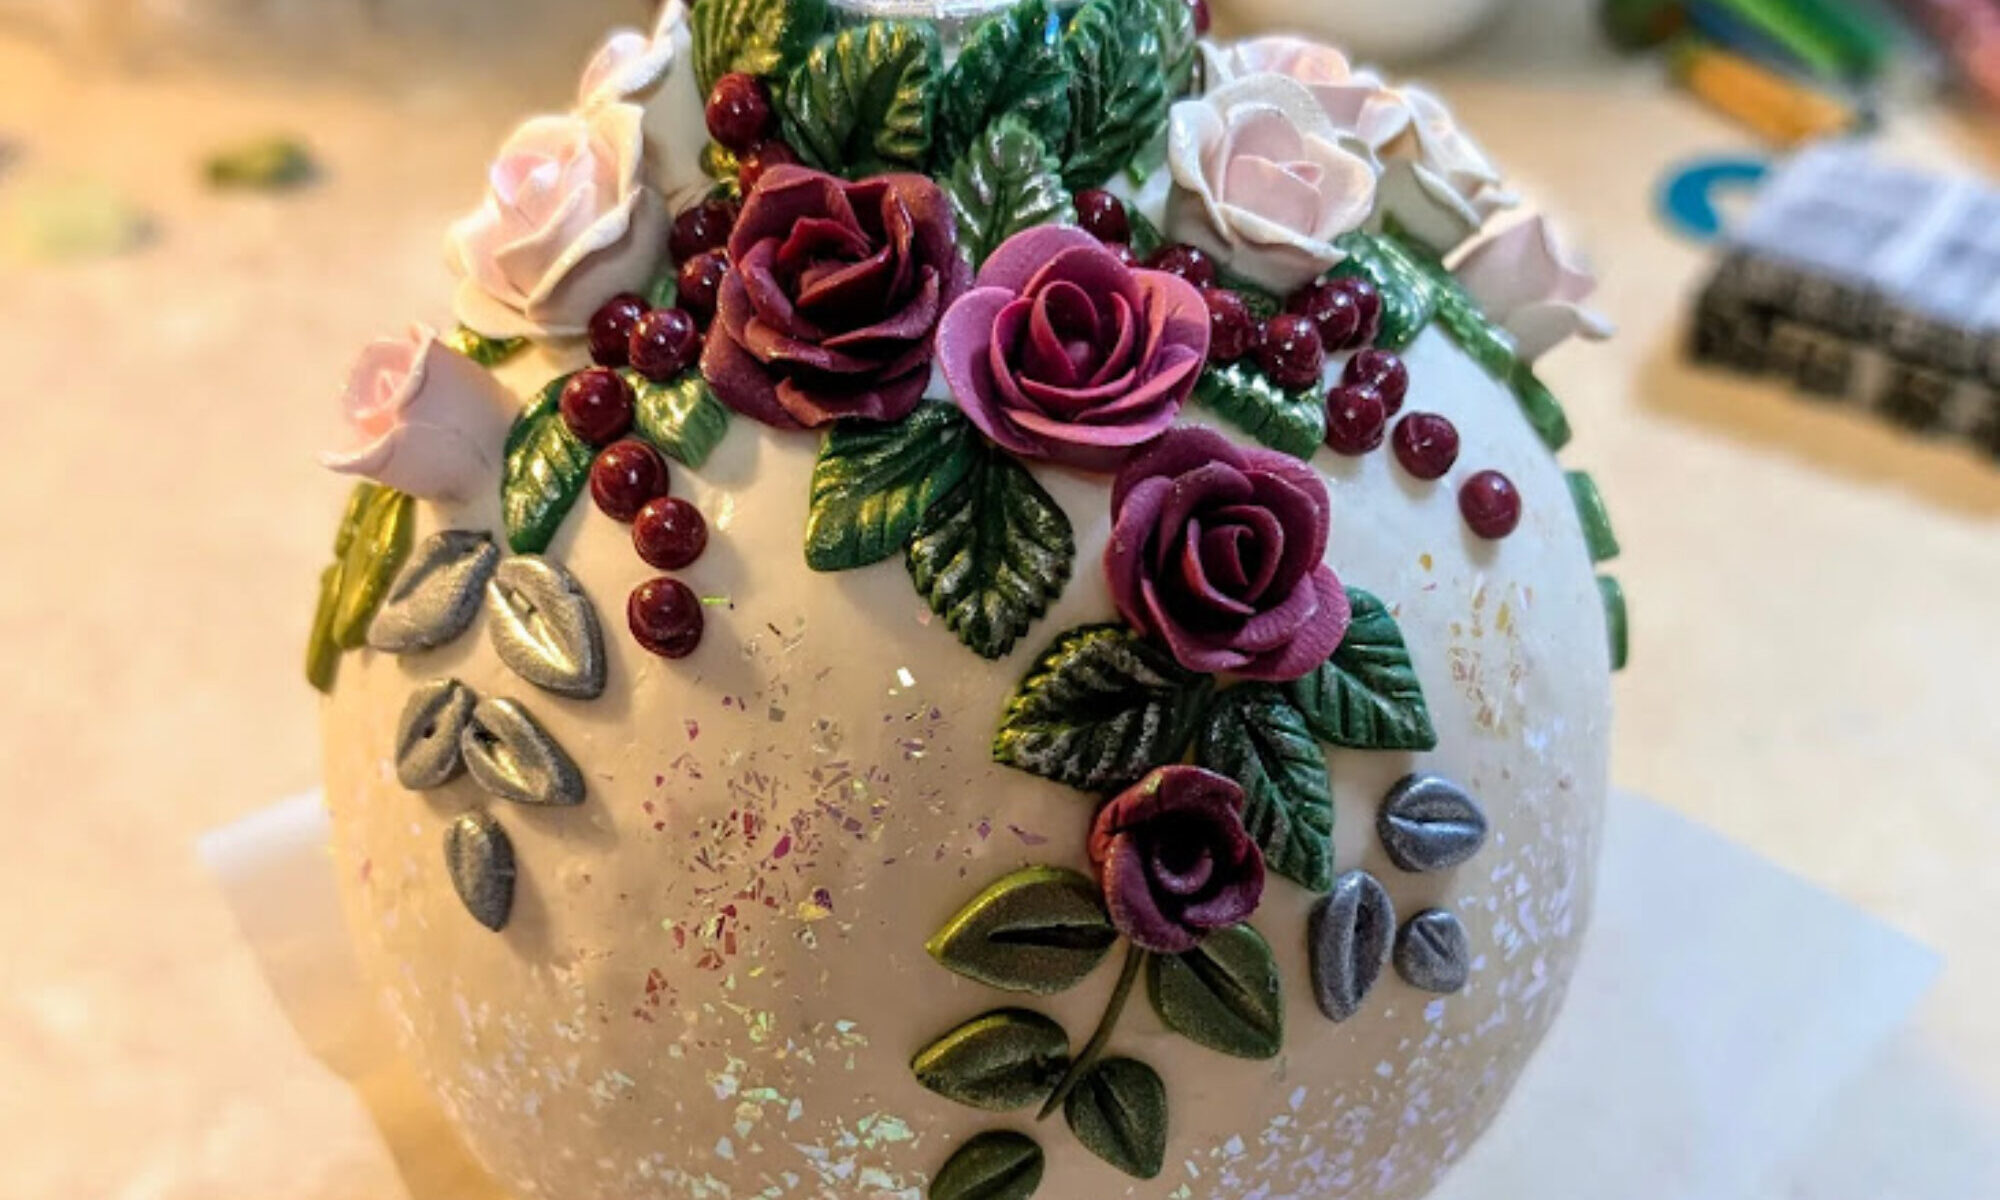
No new techniques here but two dear friends got married and I finally thought of a gift for the couple who has everything- a handmade, personalized ‘First Married-Christmas’ ornament in their wedding colors. I made four of them before I settled on two that were nice enough to gift. The names were stamped with lead ‘hot type’ printing stamps used back when we printed our maps on a press decades ago at the map company.
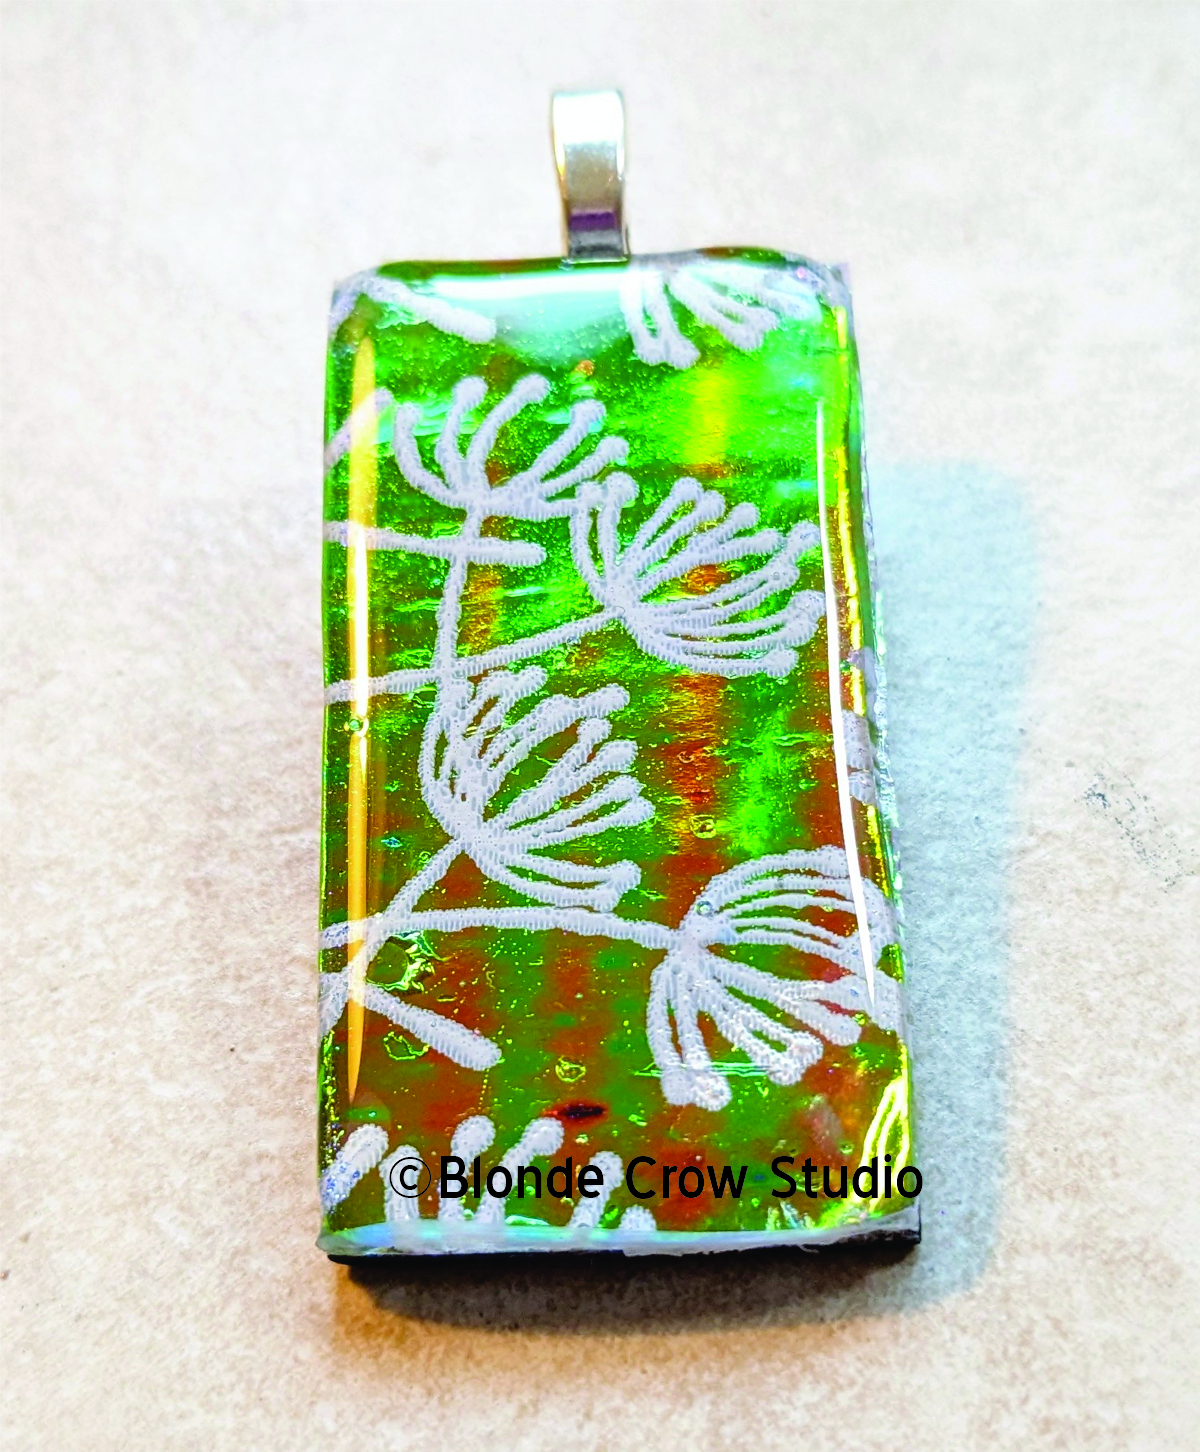
Premo! and Cernit polymer clays, mica powder, chameleon flakes, glass sphere, wire.

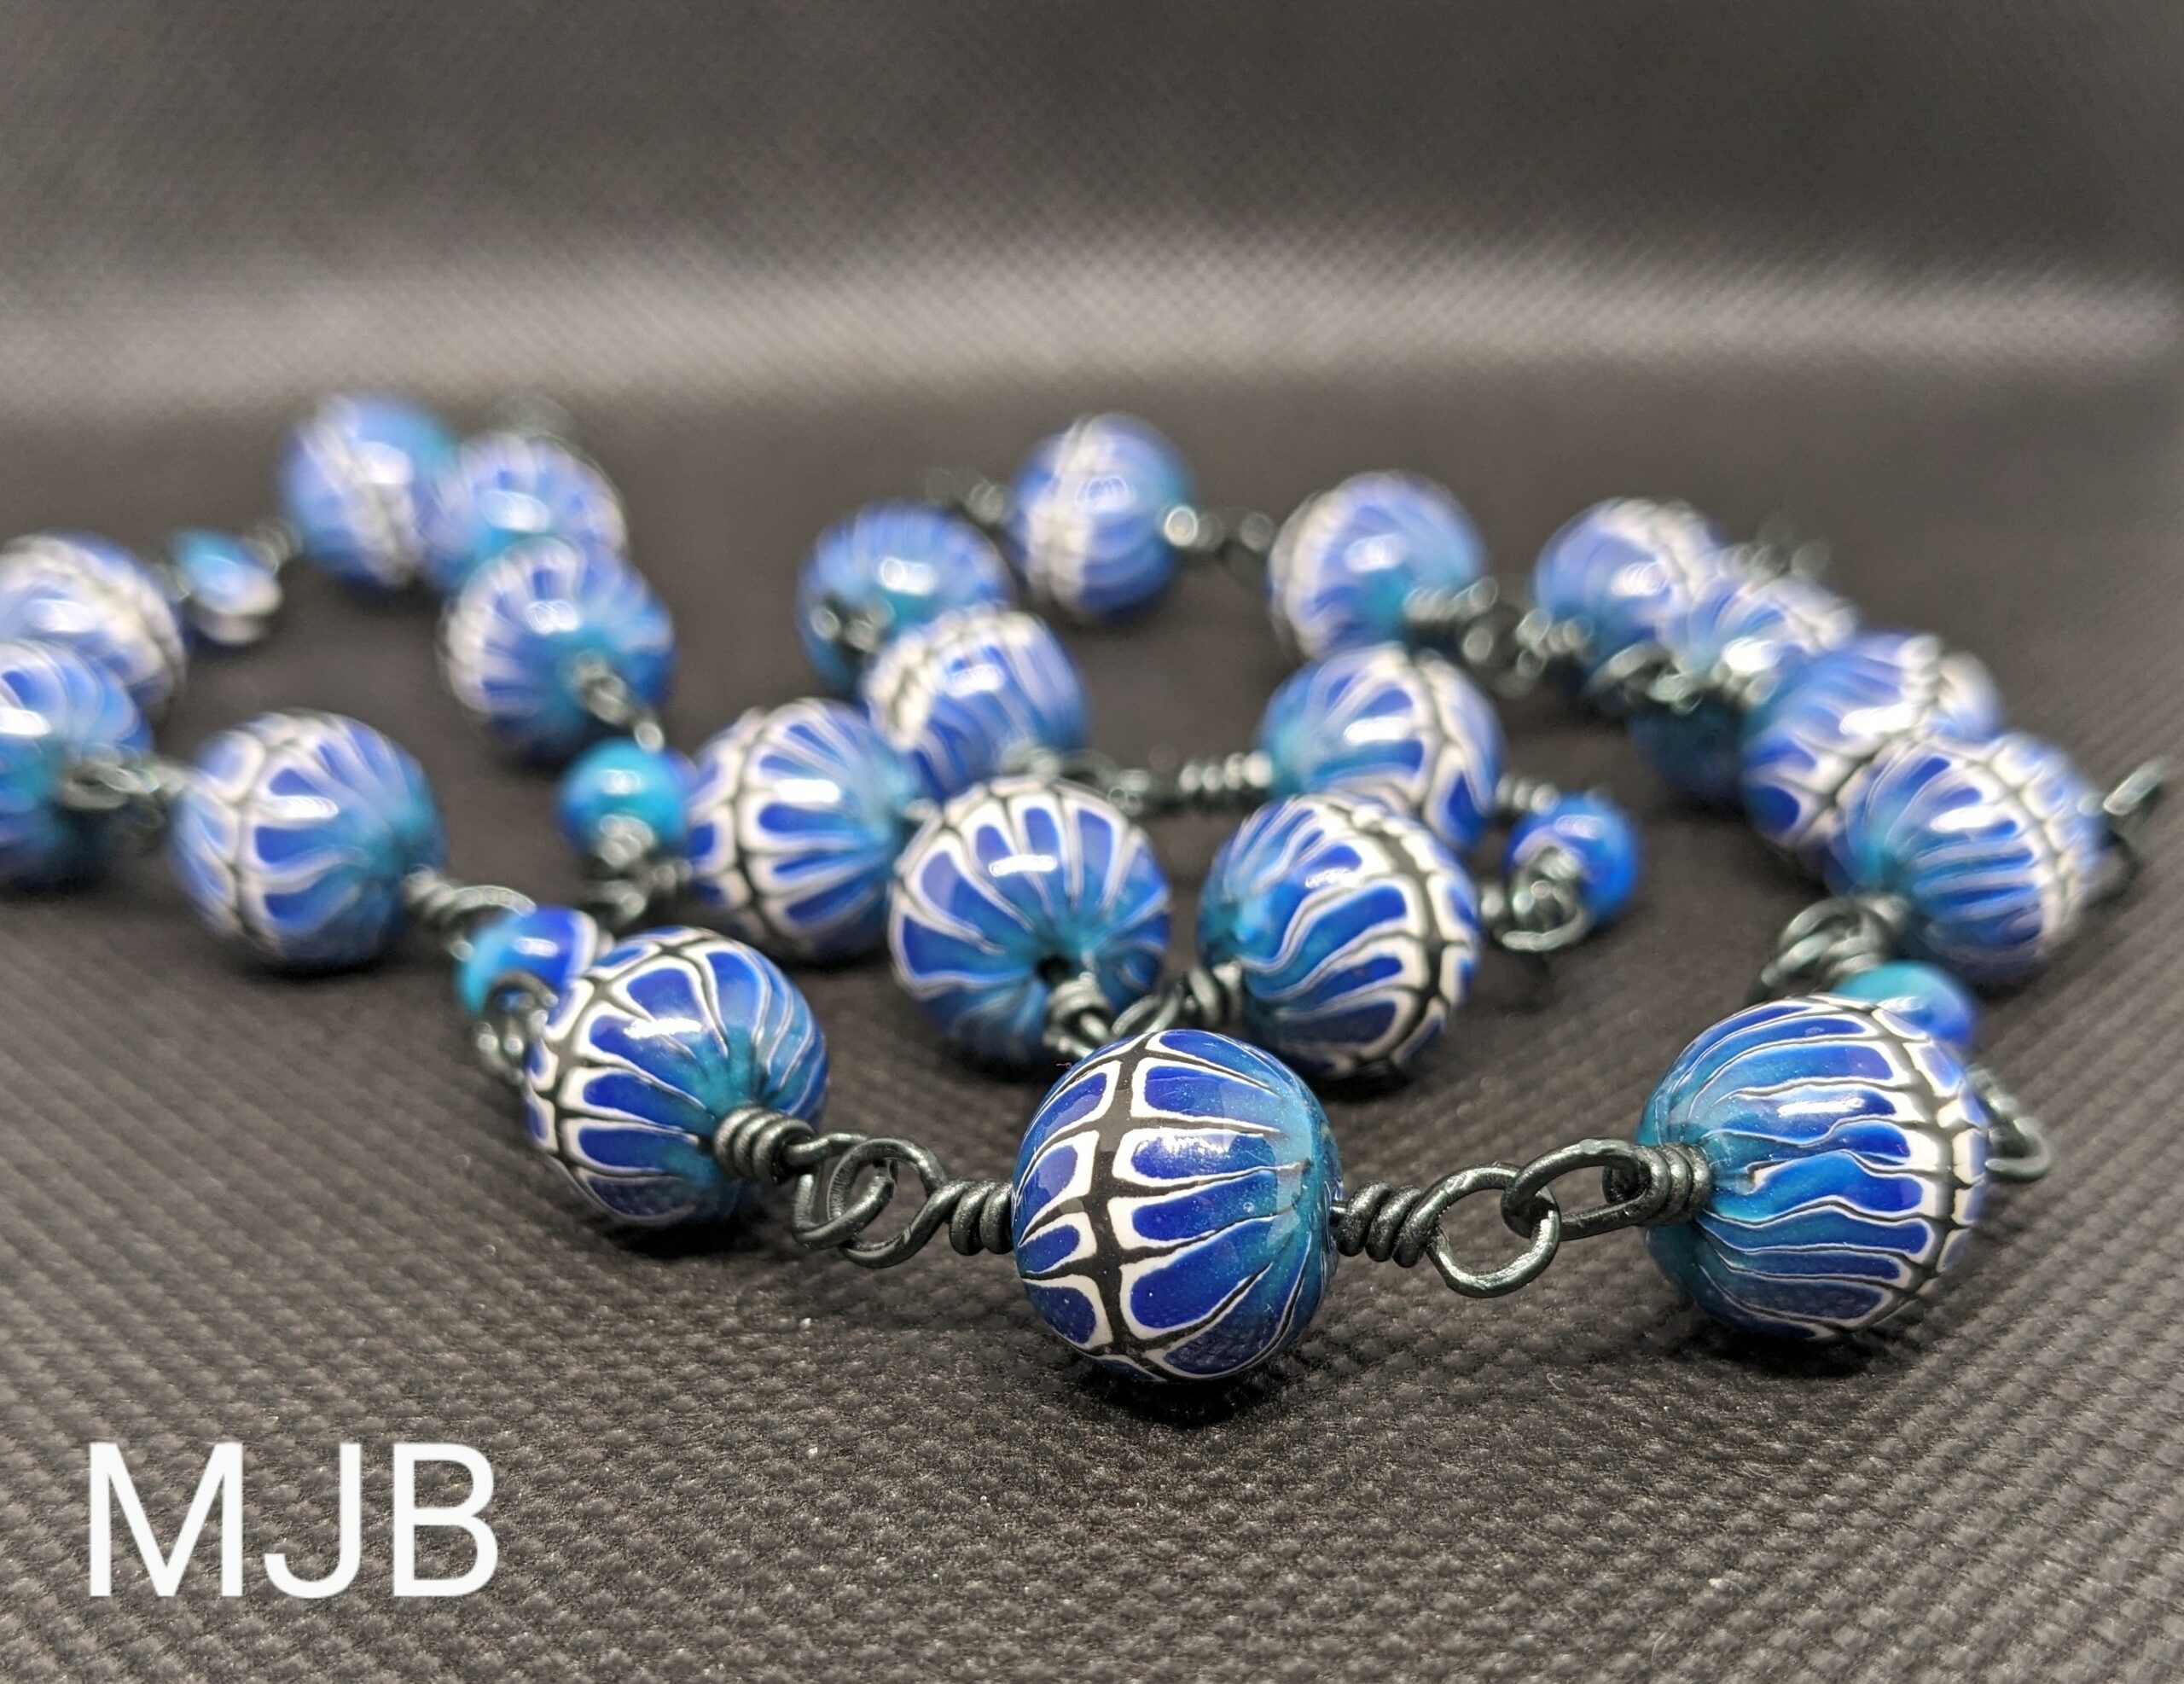
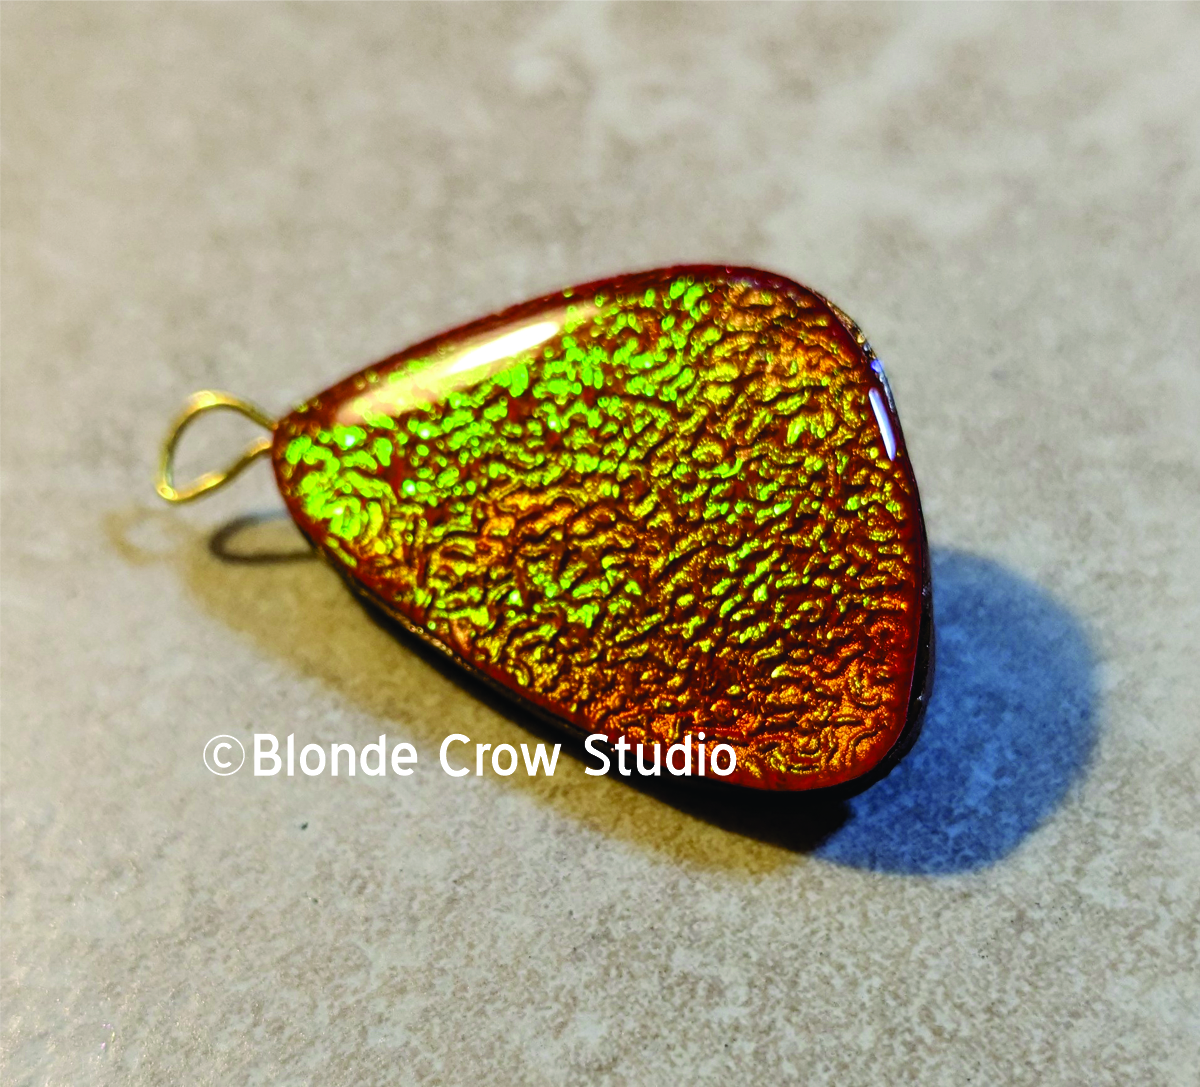
No. 4 wedding ornament
No. 4 was a winner

No. 4, view C wedding ornament
No. 4, view C

No. 4 wedding ornament
No. 4 made the cut

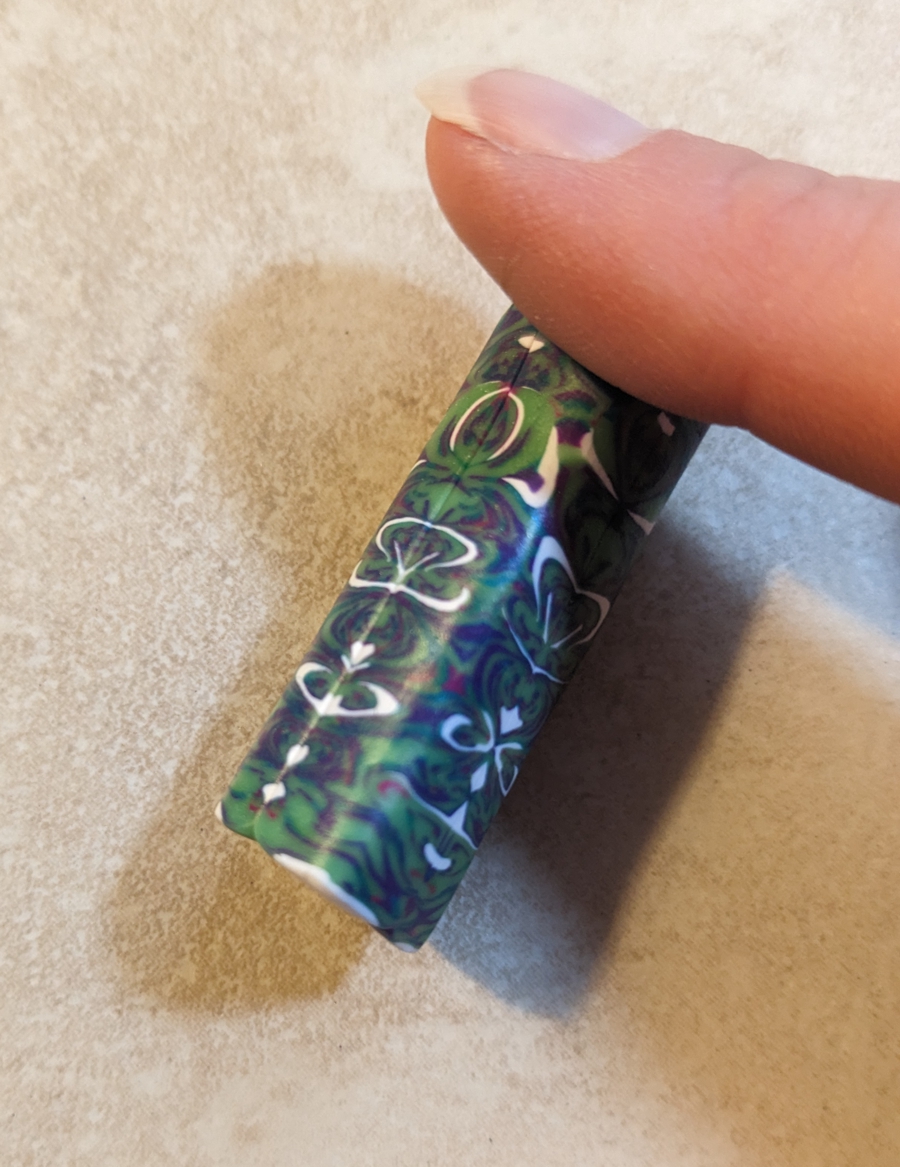
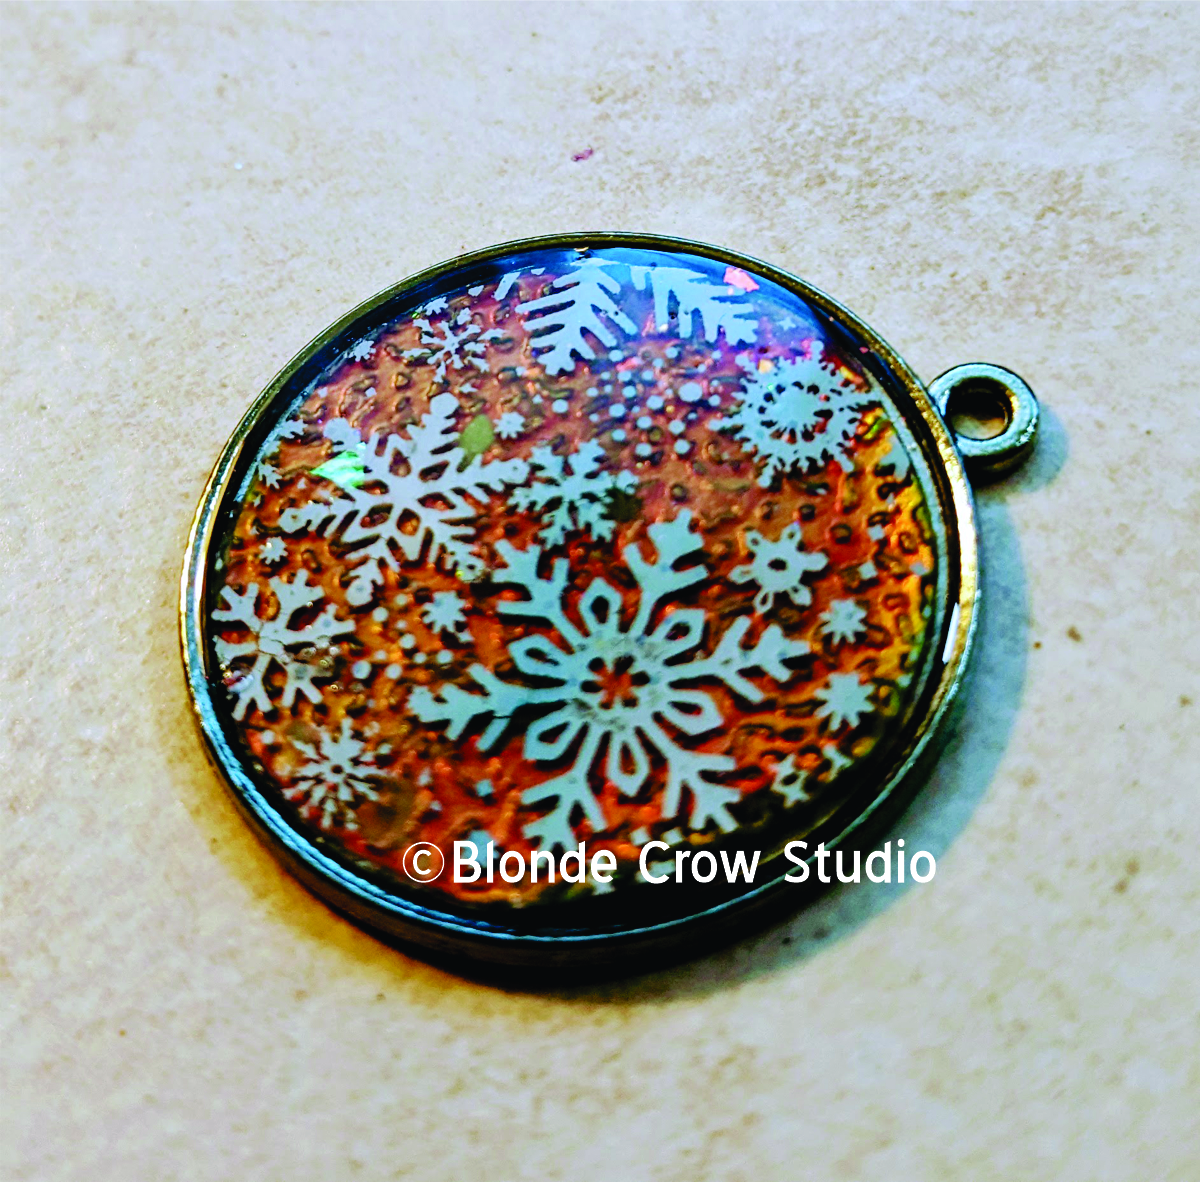
No. 2, view A wedding ornament
No. 2, view A

No. 2, View B wedding ornament
No. 2, View B

Lead hot type printing letters
A new use for hot type letter stamps

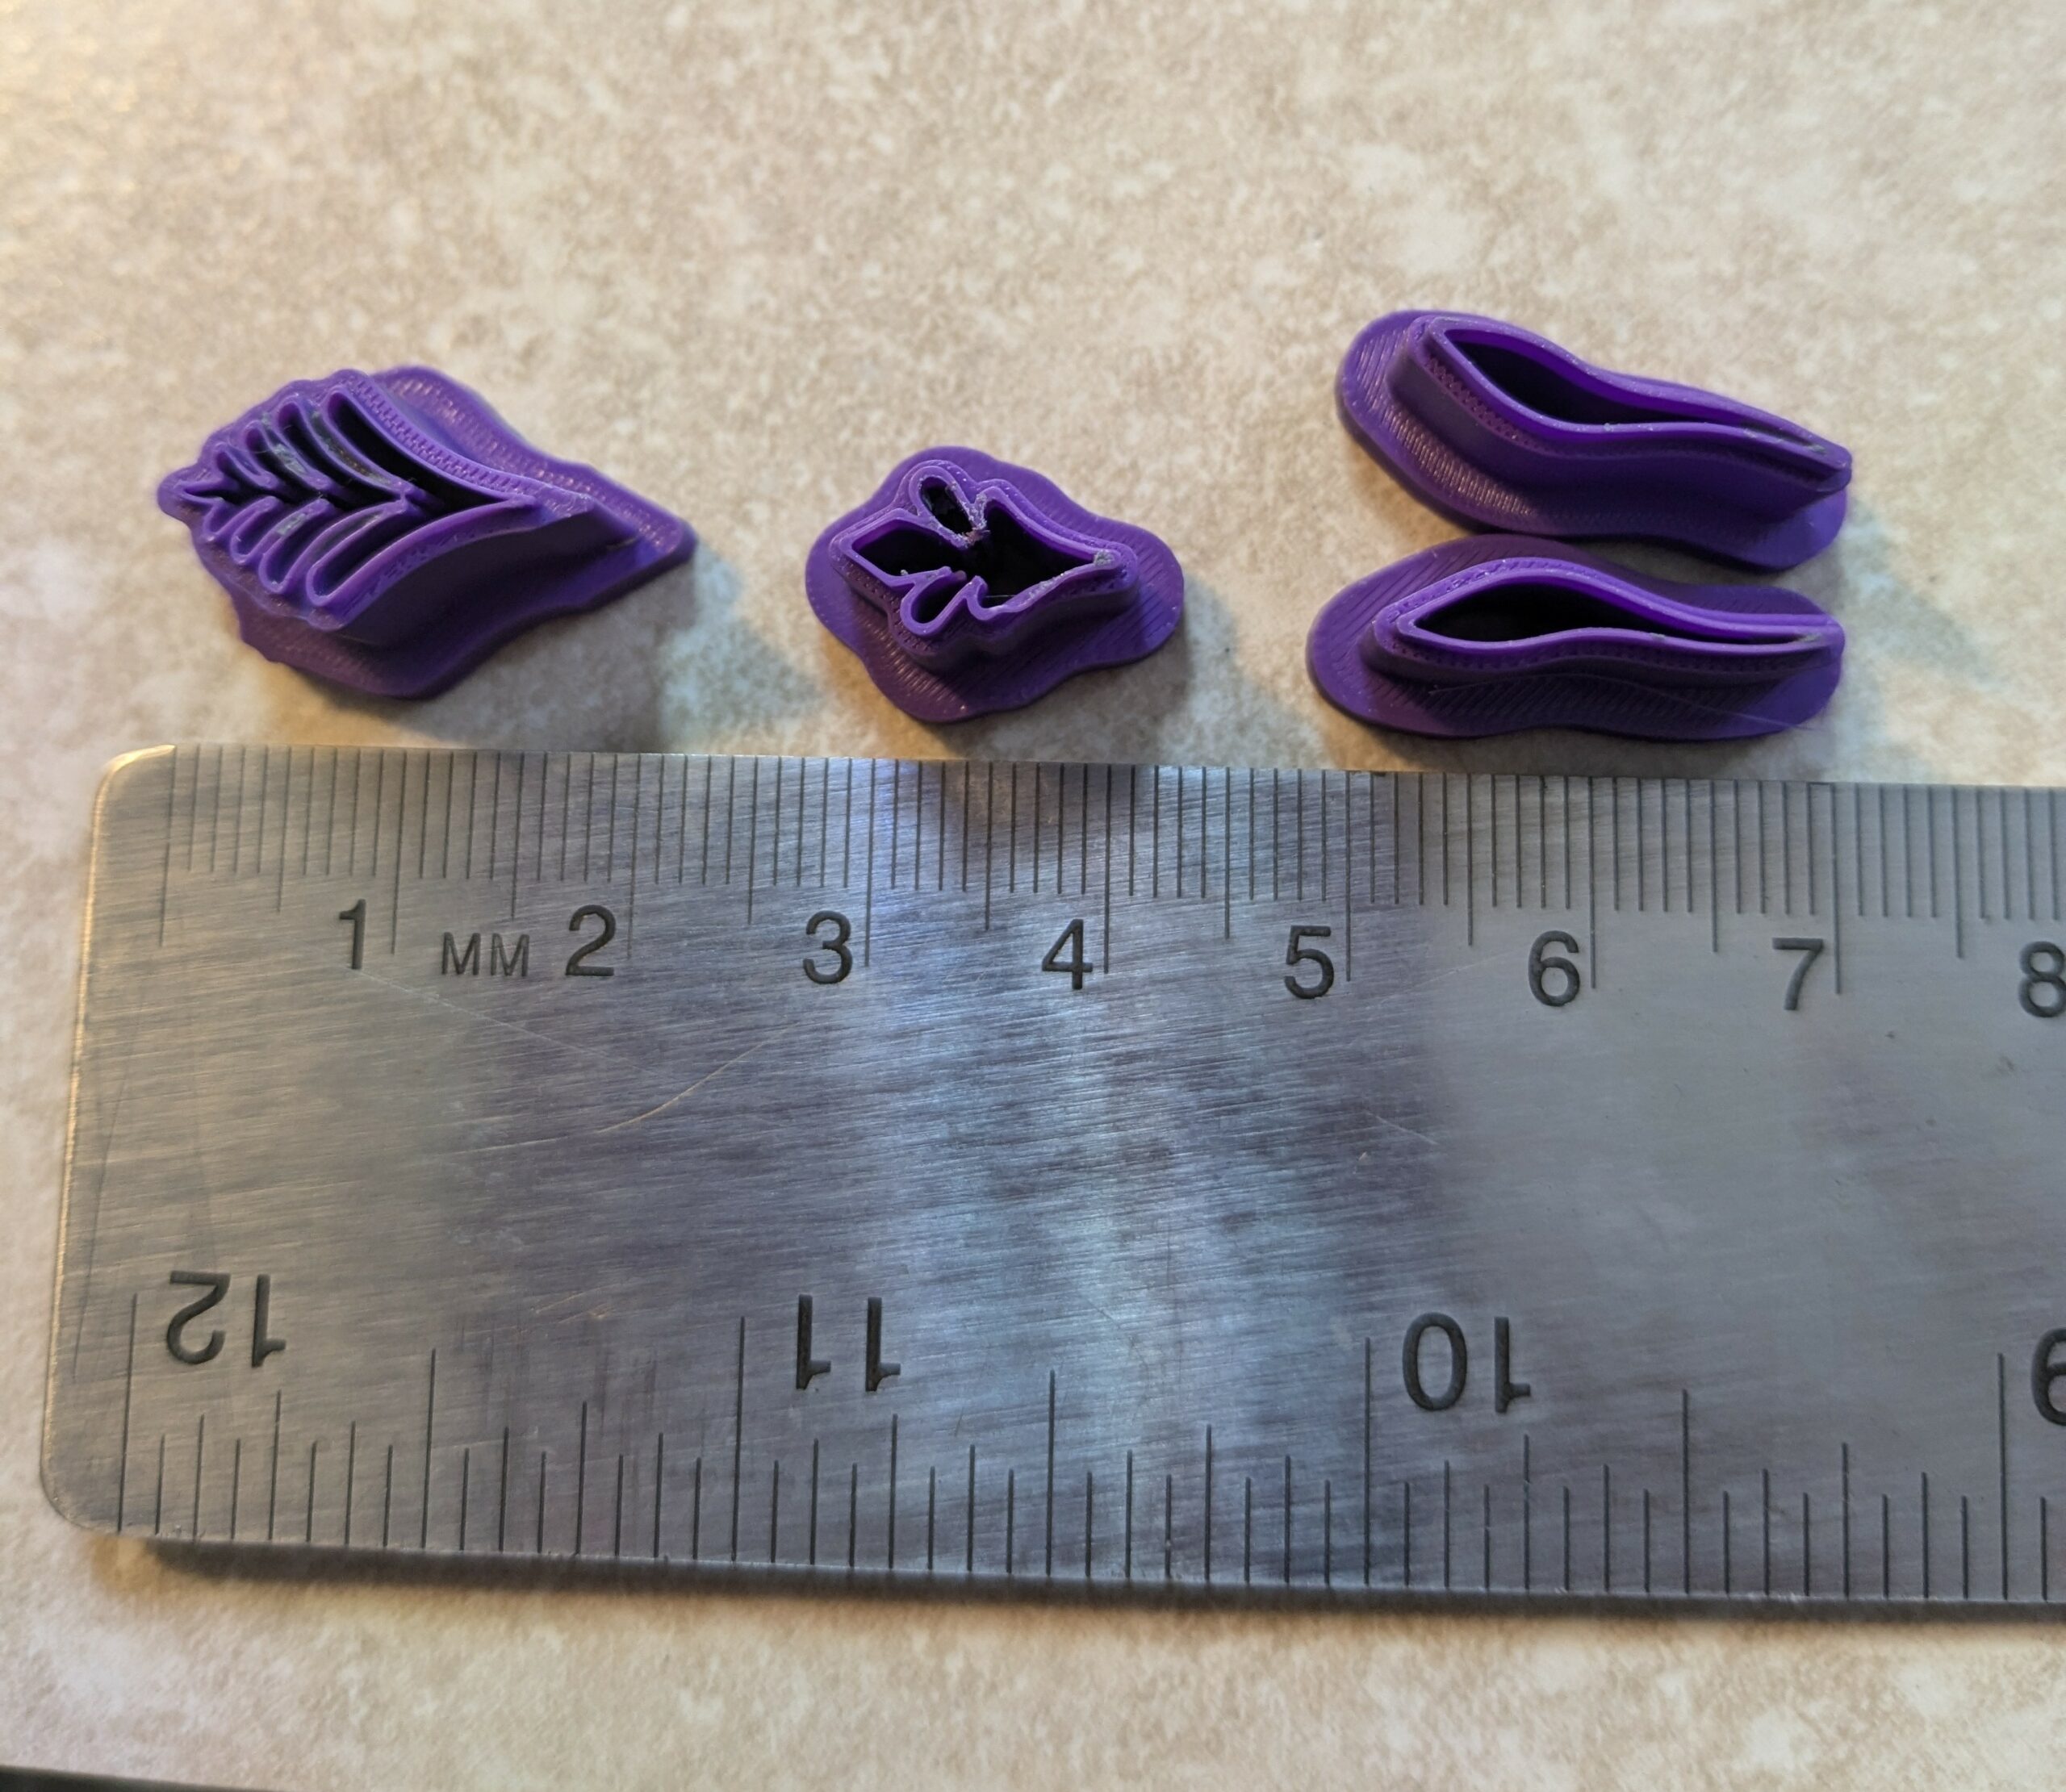
Tiny elements make a whole
Tiny elements make a whole

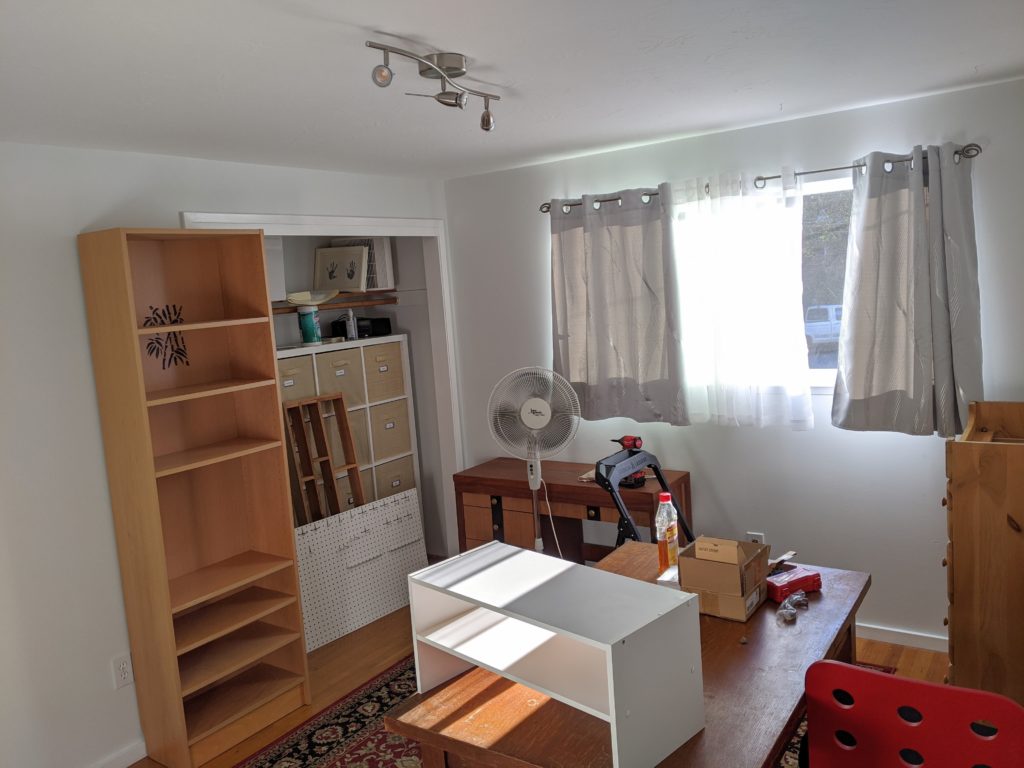
Oak cabinet stores hot type
Old oak cabinet stores hot type stamps

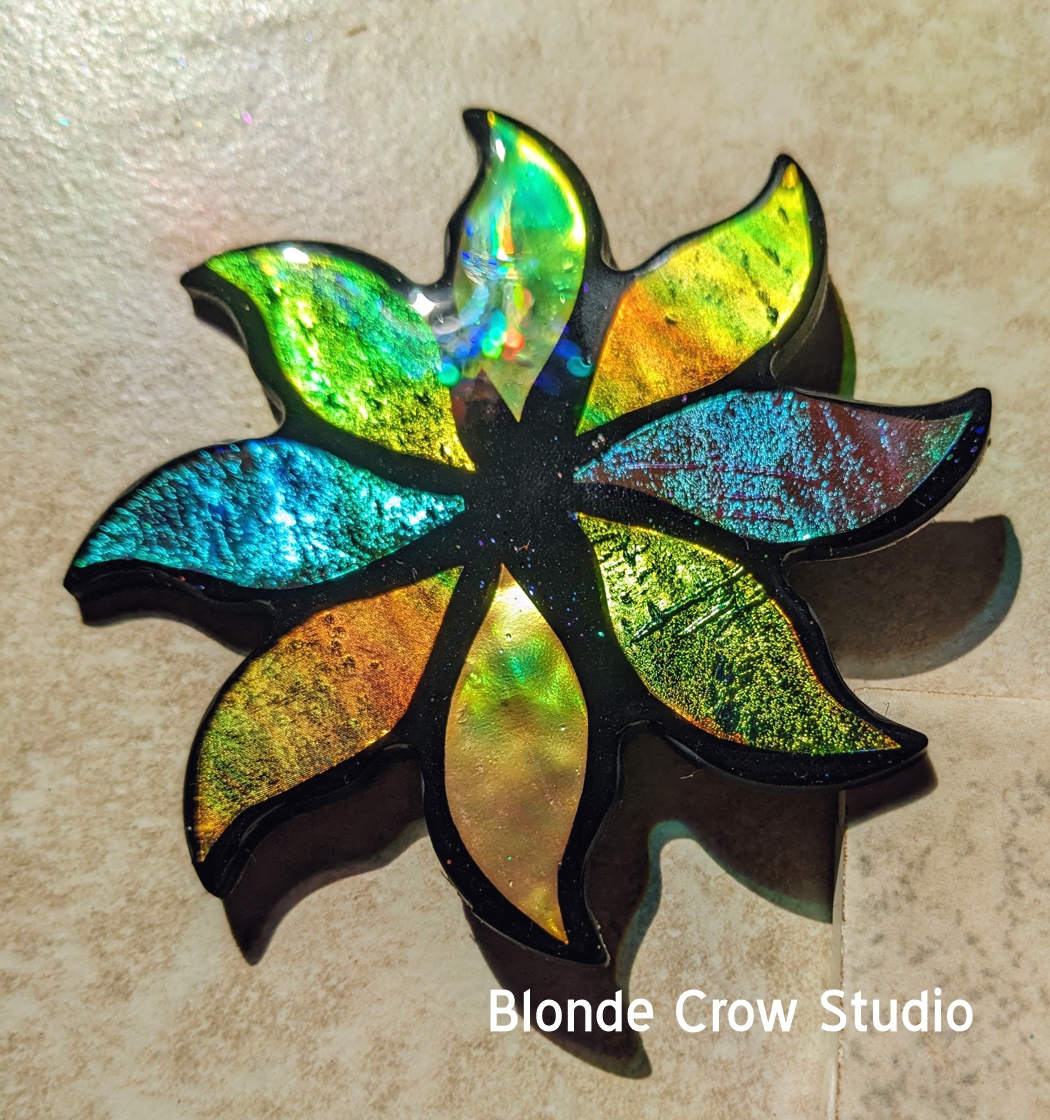
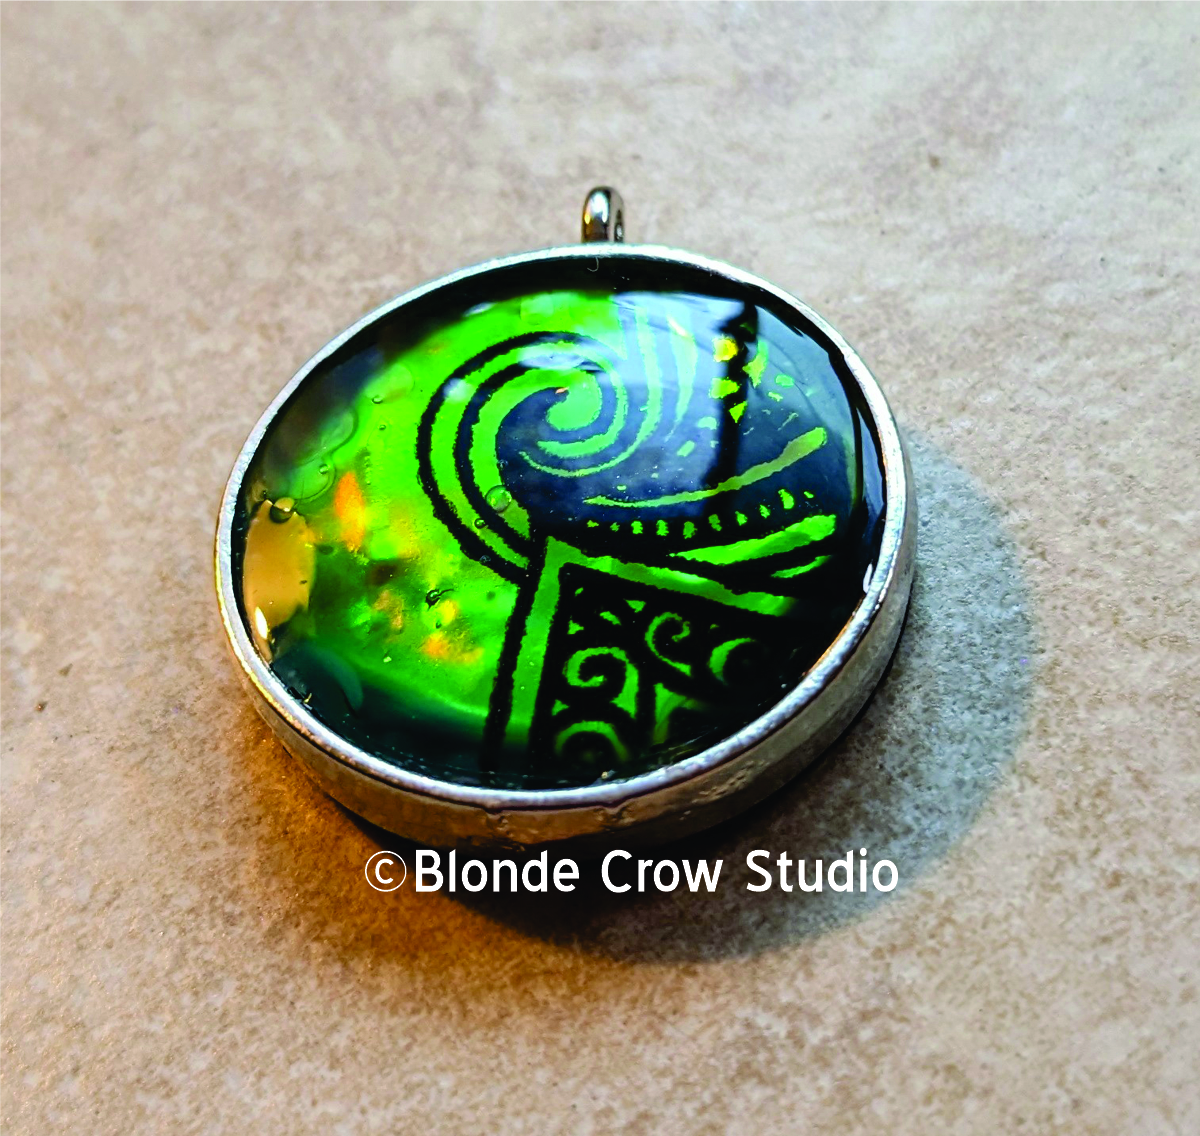
No. 3 is a no wedding ornament
No. 3 is a nooo

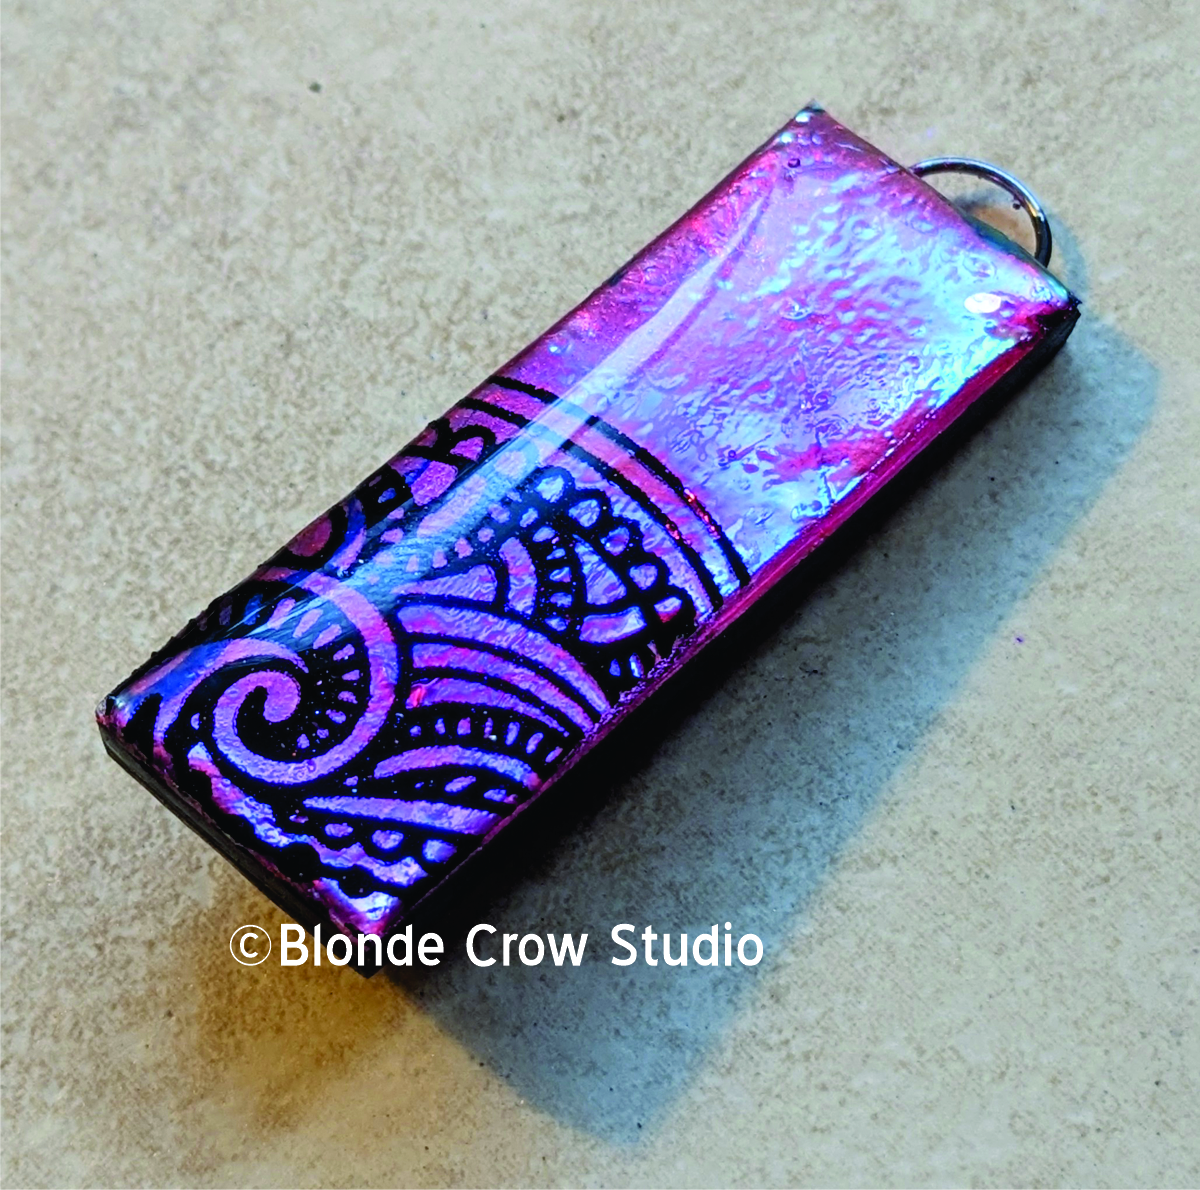
No. 1- Too busy wedding ornament
No. 1- Too many roses

Number Three reject top view
No. 3, top view